So, with that said, below is a brief tutorial (with probably too many pictures - but I always wish there were more pictures) for a diaper cloth. We have three friends having babies around the same time and my goal was to make something quick, custom and handmade for them!
If you make one, please leave me a comment!
Materials Needed:
- 1 bath towel (mine was from Wal-Mart for $3.50 and made 9 diaper cloths) OR any soft/durable fabric. You could use minky dot but I HATE sewing on it! You could even sew this to a normal diaper cloth.
- 9x14 remnant piece of fabric
- Sewing machine
- Scissors
- Size of your desired cloth - mine was 9x14 but it can be any size!
STEP 1:
Cut one 9x14 rectangle out of both fabric and towel (I cut off all edges of the towel until all I had was inside of towel with no binding or designs to cut pieces from). I typically machine wash and dry my fabric before using so it doesn't shrink or bleed. I also starch and iron it once I have cut the rectangle.
Cut one 9x14 rectangle out of both fabric and towel (I cut off all edges of the towel until all I had was inside of towel with no binding or designs to cut pieces from). I typically machine wash and dry my fabric before using so it doesn't shrink or bleed. I also starch and iron it once I have cut the rectangle.
 STEP 2:
Place right sides of fabric together. This is easy since the towel doesn't have a right and wrong side.
 STEP 3:
Sew down 3 sides sewing fabric and towel together. I did this on a serger. If you have a sewing machine I recommend sewing the seams pretty tight (on a short length). I would then cut off the excess outside the seam so it doesn't bunch in your finished cloth.
 STEP 4:
 Sew half way down last end that hasn't been sewn yet and STOP! You will need this opening in the fabric to turn the cloth inside out.
 STEP 5:
 Pull fabric and towel through opening.

STEP 6:
Now we will complete the few inches you just pulled the fabric through. Fold the fabric and towel into the inside of the cloth to create a clean finished edge. You can sew this shut now or pin it to be sewn together when the finish sewing is done. The second option is what I prefer.
 STEP 7:
I think it is a good idea to sew a straight stitch about .25 inch inside the edge of the finished cloth. This will make sure when the cloth is washed it will not lose its shape. This is also when you can sew the opening shut.

STEP 8:
STEP 8:
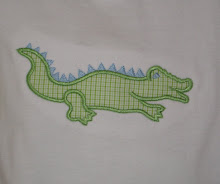
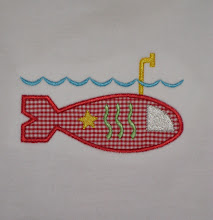
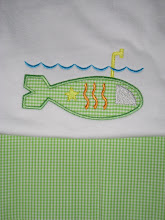
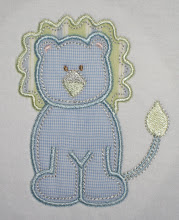
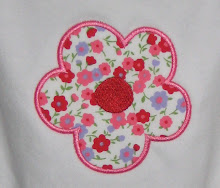
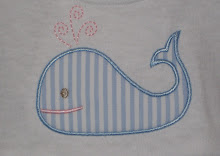
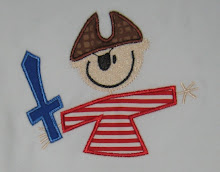
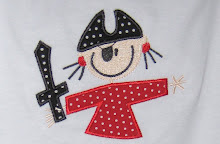
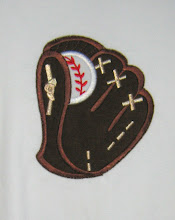
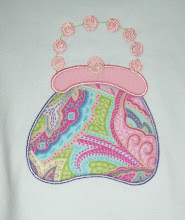
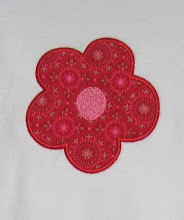
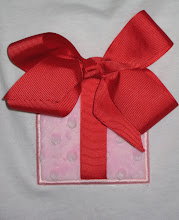
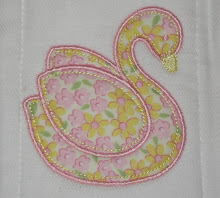
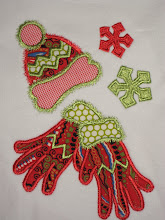
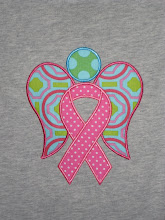
Iron and you are done! Wasn't that FUN! I made about 9 in an hour and used some cute fabric I have been dying to sew on! Below you will see other samples. For those with embroidery machines you can add names, initials or appliques too! I even added ric-rac!
ENJOY!


 I am hard at work on spring clothes for Bluebird Hill. I really hope to post more pictures soon. I am on a roll with boys clothes. The girls are slower coming for some reason. For those of you that like unique fabric I just found this website off another blog - check it out -